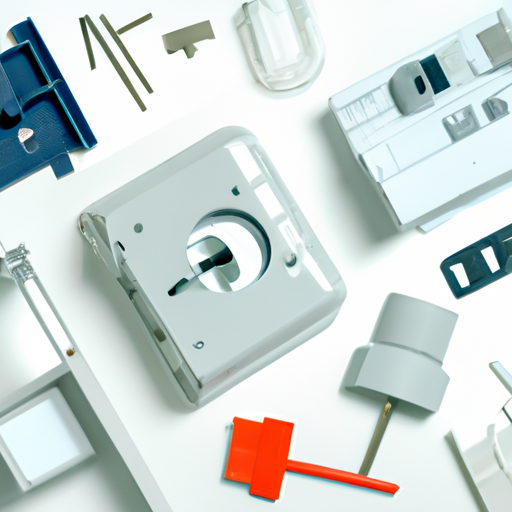
Easy DIY Home Access Control: A Step-By-Step Installation Guide
Hey there, fellow DIY enthusiasts! Are you ready to take your home security to the next level? In this step-by-step guide, I’m going to show you how to install a top-notch access control system all by yourself. So grab your tools and let’s get started!
Gather Your Tools
First things first, make sure you have all the necessary tools for the job. You’ll need a drill, a screwdriver, some wires, a power supply, and of course, your trusty access control system kit. Once you’ve got everything together, we can move on to the fun part!
Locate the Entry Point
Now, it’s time to decide where you want to install your access control system. Look for a strategic entry point that will give you maximum coverage and protection. Once you’ve found the perfect spot, mark it with a pencil so you know where to start your installation.
Mount the Control Panel
Using your drill and screws, mount the control panel securely to the wall. Make sure it’s at a comfortable height for easy access. Once it’s in place, connect the wires according to the manufacturer’s instructions. This is where your DIY skills really come into play!
Install the Card Reader
Next, it’s time to install the card reader at the entry point. Drill holes for the wires and secure the reader in place. Connect the wires to the control panel and test the reader to make sure it’s working correctly. This step is crucial for ensuring that only authorized individuals can enter your home.
Power Up the System
Finally, it’s time to power up your new access control system. Connect the power supply to the control panel and make sure everything is properly connected. Test the system to ensure that it’s functioning as it should. Congratulations, you’ve just installed your very own DIY home access control system!
Now sit back, relax, and enjoy the peace of mind that comes with knowing your home is safe and secure. Great job, DIY master!
