
Easy DIY Home Access Control: Beginner’s Installation Guide
So you’re ready to take your home security to the next level with a DIY access control system? That’s awesome! As a seasoned CCTV installer, I’m here to guide you through the process step-by-step. Let’s get started!
Gather Your Tools
Before diving in, make sure you have all the necessary tools handy. You’ll need a screwdriver, drill, wire stripper, and of course, your trusty access control system kit.
Find the Perfect Spot
Now comes the fun part - finding the perfect spot to install your access control system. Look for a location near your front door or gate for easy access, but out of reach from prying eyes.
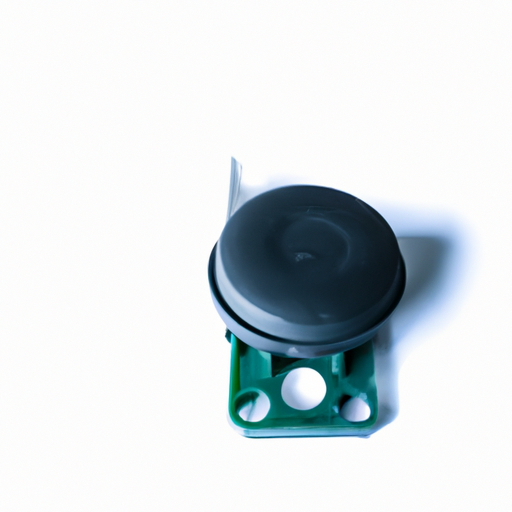
Mounting the Control Panel
Using your drill and screws, mount the control panel in the chosen spot. Make sure it’s securely fastened to the wall to prevent any mishaps.
Wiring It Up
Next, it’s time to wire up your access control system. Follow the instructions provided in the kit to connect the control panel to the power source and the door lock.
Test It Out
Once everything is wired up, it’s time to test out your new access control system. Try entering different codes or using the key fob to unlock the door. If everything works smoothly, pat yourself on the back – you did it!
Final Thoughts
Installing your DIY access control system is a rewarding experience that will give you peace of mind knowing your home is secure. Just remember to keep your system up-to-date and test it regularly to ensure it’s functioning properly. Now sit back, relax, and enjoy your newfound sense of security!