Welcome, fellow CCTV enthusiasts!
Are you ready to take your home security to the next level? Look no further – in this guide, I’m going to walk you through the process of installing your very own DIY home access control system. Not only will this system give you peace of mind knowing your home is secure, but it will also impress your friends and family with your tech-savvy skills!
Gather Your Tools
Before you begin, make sure you have all the necessary tools on hand. You’ll need a drill, screwdriver, wire cutter/stripper, and of course, your access control system kit. Don’t forget to grab a cold beverage – this is going to be a fun project!
Choose Your Entry Points
Decide where you want to install your access control system. Whether it’s the front door, back door, or garage, make sure you have a clear entry point in mind. This will help you plan out the wiring and positioning of your system.
Mount Your Control Panel
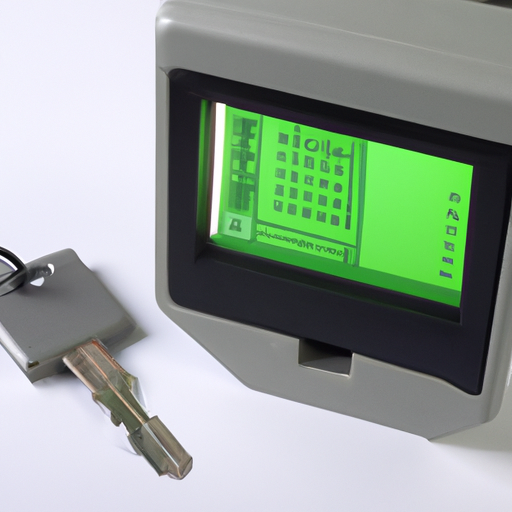
Once you’ve chosen your entry point, it’s time to mount your control panel. Use your drill and screws to securely attach the panel to the wall near the door. Make sure it’s easily accessible for programming and everyday use.
Run Your Wires
Next, it’s time to run the wires from the control panel to the door strike. Use your wire cutter/stripper to measure and cut the wires to the appropriate length. Be sure to secure the wires along the wall to prevent any tripping hazards.
Install Your Door Strike
Now comes the fun part – installing the door strike! Use your screwdriver to remove the existing strike plate and replace it with the new electronic strike. Connect the wires from the control panel to the strike, making sure to follow the manufacturer’s instructions carefully.
Program Your System
Once everything is wired up and ready to go, it’s time to program your access control system. Follow the instructions in your kit to set up user codes, access schedules, and any other custom settings. This is where you can really personalize your system to fit your needs.
Test Your System
Before you call it a day, be sure to test your new access control system. Use your user code to enter and exit through the door, and make sure the door strike is functioning properly. You should hear a satisfying click when the door unlocks – that means you did it right!
Celebrate Your Success
Congratulations, you’ve successfully installed your very own DIY home access control system! Give yourself a pat on the back and enjoy the added security and convenience it brings to your home. Now sit back, relax, and bask in the glory of a job well done.
