
Welcome to the Ultimate Guide to DIY Home Alarm Installation!
Gather Your Gear
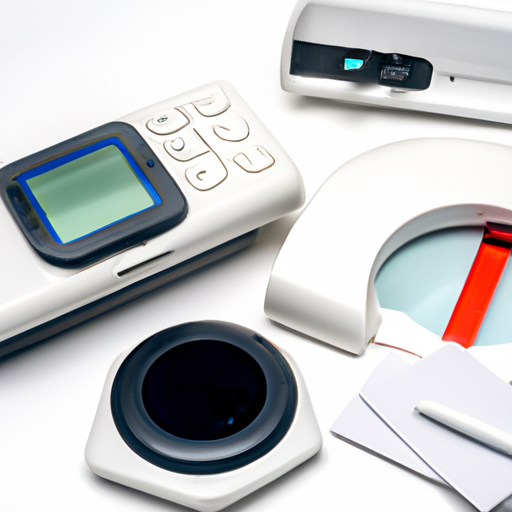
Alright, first things first – you gotta gather all your gear. Make sure you have your control panel, sensors, cameras, and any other equipment you need for the job. And don’t forget your tools – you’re gonna need ’em!
Map Out Your Plan
Before you start installing anything, take some time to map out your plan. Figure out where you want to place your sensors and cameras, and make sure you have a clear idea of how everything will connect to the control panel.
Get Your Hands Dirty
Now it’s time to get your hands dirty and start installing your system. Mount your cameras, place your sensors, and connect everything up to the control panel. Don’t be afraid to get creative – this is your system, so make it your own!
Test, Test, Test
Once everything is in place, it’s time to test your system. Make sure each sensor and camera is working properly, and that everything is connected to the control panel as it should be. Don’t skip this step – you don’t want any surprises down the road!
Final Touches
Now that your system is up and running, it’s time for the final touches. Make sure everything is properly secured and that all wires are hidden. And don’t forget to set up your monitoring service – you want to make sure your home is protected 24/7!
Enjoy Your New System
Congratulations, you did it! You’ve successfully installed your own home alarm system. Now sit back, relax, and enjoy the peace of mind that comes with knowing your home is safe and secure.
Remember, if you ever need any help or have any questions, don’t hesitate to reach out to us. We’re always here to help you out!