
CCTV Insider: 5 Steps to Setting Up Your Own DIY Home Surveillance System
Step 1: Scope Out Your Property
Hey there, CCTV enthusiasts! Before you dive into setting up your own home surveillance system, take some time to scope out your property. Identify key areas where you want to install cameras, such as entry points, driveways, and backyards. This will help you determine how many cameras you’ll need for full coverage.
Step 2: Choose the Right Cameras
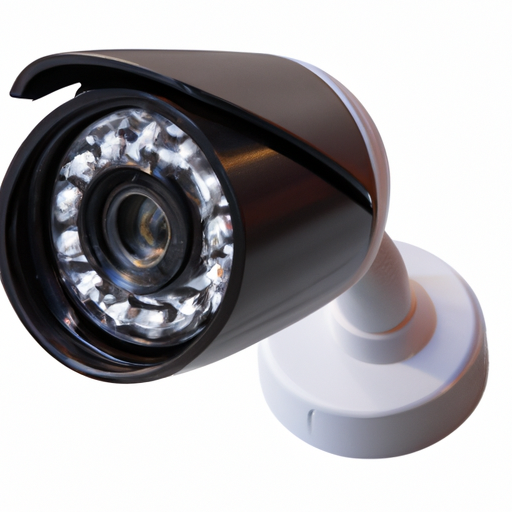
When it comes to picking cameras for your DIY surveillance system, there are a ton of options out there. From dome cameras to bullet cameras, make sure to choose ones that suit your needs and budget. And don’t forget about features like night vision and motion detection!
Step 3: Set Up Your DVR System
Now it’s time to set up your DVR system. This is where all your camera footage will be stored, so make sure to choose a reliable DVR with enough storage space. Connect your cameras to the DVR using coaxial cables and you’ll be good to go!
Step 4: Install Your Cameras
Grab your tools and get ready to install your cameras! Make sure to mount them in strategic locations for optimal coverage. And don’t forget to test each camera to ensure they’re capturing the footage you need. It may take some trial and error, but with a little patience, you’ll have your system up and running in no time.
Step 5: Monitor and Adjust
Congrats on setting up your DIY home surveillance system! Now it’s time to monitor your cameras and make any necessary adjustments. Check your footage regularly and tweak camera angles as needed. And remember, practice makes perfect – so keep fine-tuning your system until you’re satisfied with the results.