Step-by-Step Guide: Setting Up Your Own DIY Home Surveillance System
Hey there, fellow CCTV enthusiast! Ready to take your home security to the next level? Look no further because we’ve got you covered with this step-by-step guide on setting up your very own DIY home surveillance system. Get ready to feel like a real pro in no time!
Gearing Up: Get Your Tools Ready!
Before we dive into the nitty-gritty of installation, let’s make sure you have all the necessary tools in your arsenal. Here’s what you’ll need:
- A trusty ladder to reach those high spots, mate.
- A power drill that can make those perfect holes for mounting your cameras.
- A screwdriver or two because tightening screws is an art, ain’t it?
- Cable cutters to tame those unruly wires.
- A monitor or TV to connect to your surveillance system and enjoy the show.
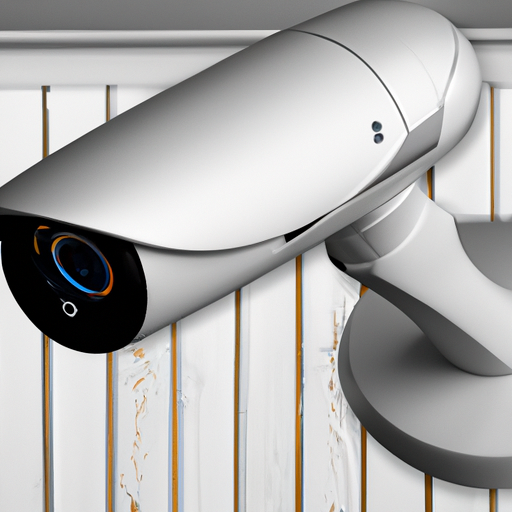
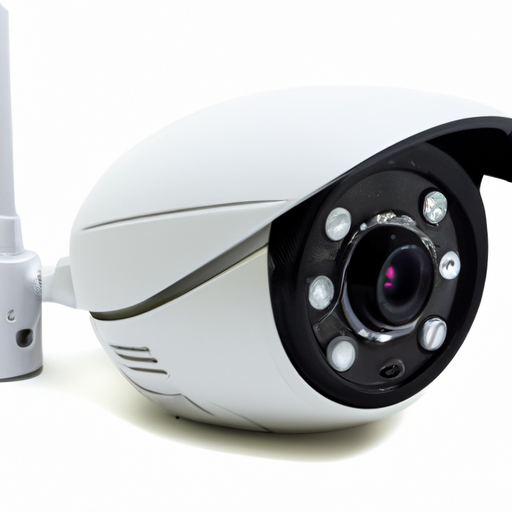
Spotting the Perfect Spots: Where to Position Your Cameras?
The key to an effective CCTV setup is strategic placement, my friend. Start by surveying your castle and identifying the vulnerable areas. Your front and back doors are prime candidates, and don’t forget about those ground floor windows that could tempt intruders.
Next, let’s talk camera angles. Aim to cover the entry points and windows with wide-angle lenses, capturing every movement like a pro cinematographer. For those blind spots, consider using PTZ cameras that can pan, tilt, and zoom, giving you maximum control over your surveillance game.
The Power of Wiring: Connecting Your Cameras
Now comes the fun part: the wiring dance! Connect one end of the power cable to your camera and the other end to a power supply or, if you’re feeling fancy, go for a centralized power distribution box. Make sure your cables are neatly tucked away and secured, avoiding those pesky snags that can ruin your setup vibes.
When it comes to data transmission, you’ve got some options, mate. Wired connections are as reliable as your mom’s Sunday roast, using coaxial cables or PLC adapters to send video signals. If you want to ditch the wires, go for wireless IP cameras, but keep in mind they might not have the same level of reliability unless you’ve got a top-notch Wi-Fi setup.
Hello, World: Setting Up Your System
It’s showtime, my friend! Connect your DVR or NVR to your monitor or TV using an HDMI or VGA cable like a true pro. Fire up that beauty and let the magic happen – your surveillance footage playing in high definition right before your eyes.
Don’t forget to set up your system, mate. Dive into the menu, configure your cameras, and adjust the motion sensitivity to eliminate those false alarms when a fly decides to pay a visit. Oh, and let’s not forget about remote viewing! Set up your mobile or computer to access your surveillance system wherever you may be – it’s like having eyes on your castle 24/7!
Spread the Word: Sharing Your Success!
You’ve done it, my friend! Your very own home surveillance system is up and running like a charm. Now it’s time to show off your skills to all your buddies. Invite them over for a movie night and casually mention, “Oh, by the way, I installed this state-of-the-art CCTV setup all by myself!” Cue the oohs, ahhs, and impressed looks.
Remember, this guide is just the tip of the iceberg when it comes to the wonderful world of CCTV. So, keep exploring, keep tinkering, and let your surveillance system evolve with your skills. Stay safe, stay tech-savvy, and happy monitoring!