
Step-by-Step Guide: Installing and Customizing Your Own Home Access Control System
Hey there, fellow security enthusiasts! Are you ready to take your home security game to the next level? We’ve got your back! In this step-by-step guide, we’ll walk you through the process of installing and customizing your very own home access control system. Get ready for some serious peace of mind!
Getting Started: What You’ll Need
First things first, before diving into the installation process, you’ll need to gather a few essential items:
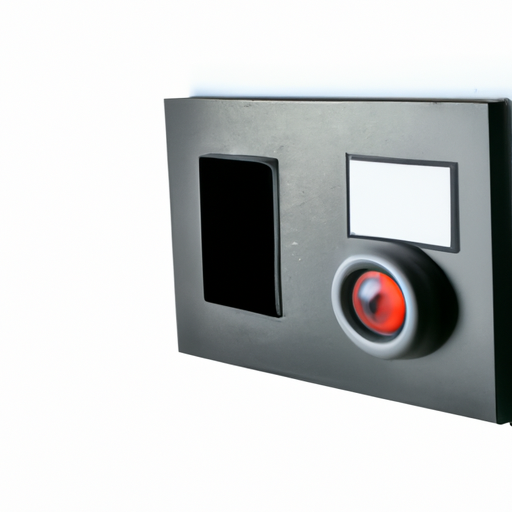
- A badass access control panel
- Some dope proximity cards or key fobs (the fancier, the better!)
- A reliable power supply unit (don’t skimp on this one!)
- A trusty electric drill (make sure it’s got some solid torque)
- A bucket of patience and a can-do attitude (essential for any security project!)
Step 1: Location, Location, Location
Alright, it’s time to choose the sweet spot for your access control panel. Find a spot near your main entry point that’s easily accessible but not too exposed to the elements. Trust us, you don’t want rain messing up your fancy equipment!
Step 2: Get Handy with Your Drill
Now that you’ve scoped out the perfect location, it’s time to whip out that electric drill and create some holes for mounting. Make sure to measure carefully and check for any hidden wires or pipes before drilling. Safety first, folks!
Step 3: Mount Like a Boss
Grab those screws and mount that access control panel like a pro. Remember to secure it tightly to minimize any pesky vibrations. A loose panel ain’t gonna serve you well in the long run!
Step 4: Power Up, Baby!
Time to connect your power supply unit to the access control panel. Double-check your connections, tighten those screws, and let there be power! Remember, electricity can be shocking, so if you’re feeling unsure, it’s always wise to call in a professional.
Step 5: The Magic of Wiring
Now comes the fun part: wiring up your proximity card reader. Trust us, it’s not as complicated as it seems. Connect those colorful wires following the handy manual, and before you know it, you’ll be a wiring wizard!
Step 6: Personalize Your Access
No access control system is complete without some personalization. Now’s the time to program those bad boys! Grab your proximity cards or key fobs and follow the installation guide to sync them up with your panel. Remember, the funkier the card, the cooler your security system will be!
Step 7: Test That Bad Boy
Congratulations, you’re almost there! Before kicking back and celebrating, put your system to the test. Swipe those cards, try some codes, and make sure everything is honky-dory. We don’t want any unwanted surprises when it comes to security!
Step 8: Lock It Down
You’re in the home stretch now! Once you’re confident your access control system is running like a well-oiled machine, seal the deal. Tighten all the screws, lock it down, and bask in the glory of your newly customized home security system. You’ve earned it!
Conclusion
There you have it, folks: your step-by-step guide to installing and customizing your very own home access control system. Remember, security should be fun and exciting, not a snooze-fest! So grab your tools, put on your DIY hat, and get ready to impress your friends and family with your newfound CCTV installer skills. Stay secure!